 |
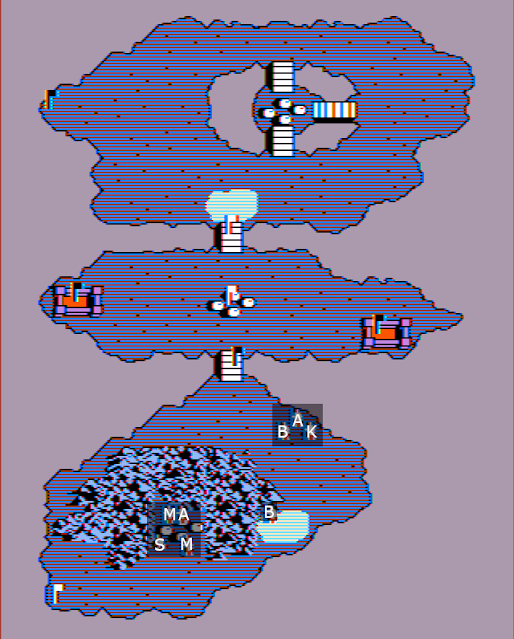
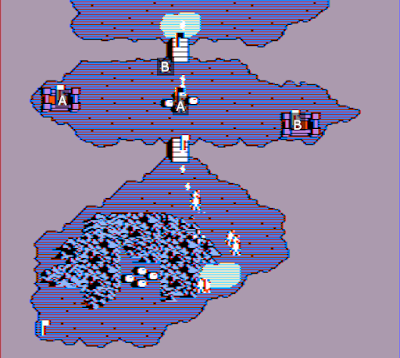
| Thematically, I name them, bottom to top, Corsica, Elba, & St. Helena. |
A Tale of Three Islands pits you against Napoleon in a scenario with no artillery, no cavalry, no resemblance to any Napoleonic battles as far as I know, and Napoleon himself does not demonstrate any particular skill in mobilizing troops. But there are lots of bridges!
In this map, fog of war is present, but line of sight is quite far. Water is deadly, and mountains are slow and dangerous, but half of your army needs to cross them to reach the action. Crucially, the forts produce soldiers at the highest rate - about one each per minute.
Elba is unoccupied, and you'll want to get your troops on it quickly and take the forts ASAP. Do this quickly and you will probably win. You don't really need the reinforcements, but you definitely don't want Napoleon to have them, nor be faced with the grim challenge of laying siege if you don't have to.
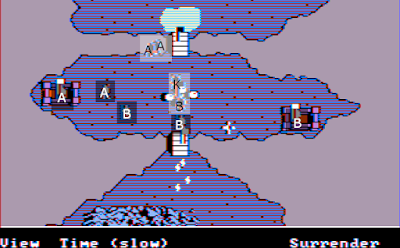
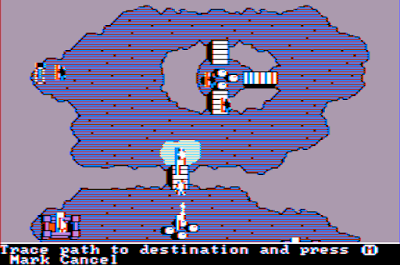
First order of business. I fast-march my barbarians and archers across the bridge and toward the forts. Archers take the west fort, barbarians split one off from their group and send him to take the east fort, which Napoleon tends to ignore when both are occupied. Everyone else is carefully guided out of Corsica at normal pace, avoiding mountainous terrain as much as possible.
 |
| Too slow, paille-au-nez! |
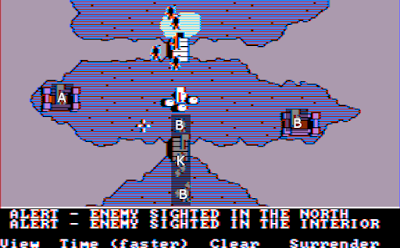
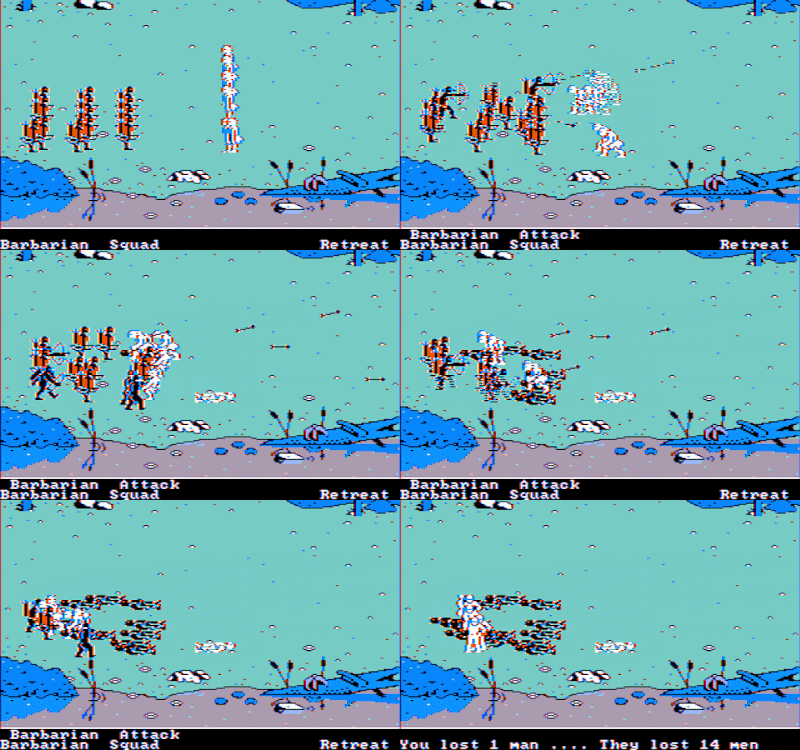
Barbarians lead Napoleon's charge, and head toward the bridge, so I move mine out of the way. He ignores them and continues south, taking the farm, and meets my knights on the bridge who chop them up into fish bait. I then have all but one archer leave the fort - this wasn't possible earlier due to an engine limit on the total number of units on the map - and move them closer to the farm.
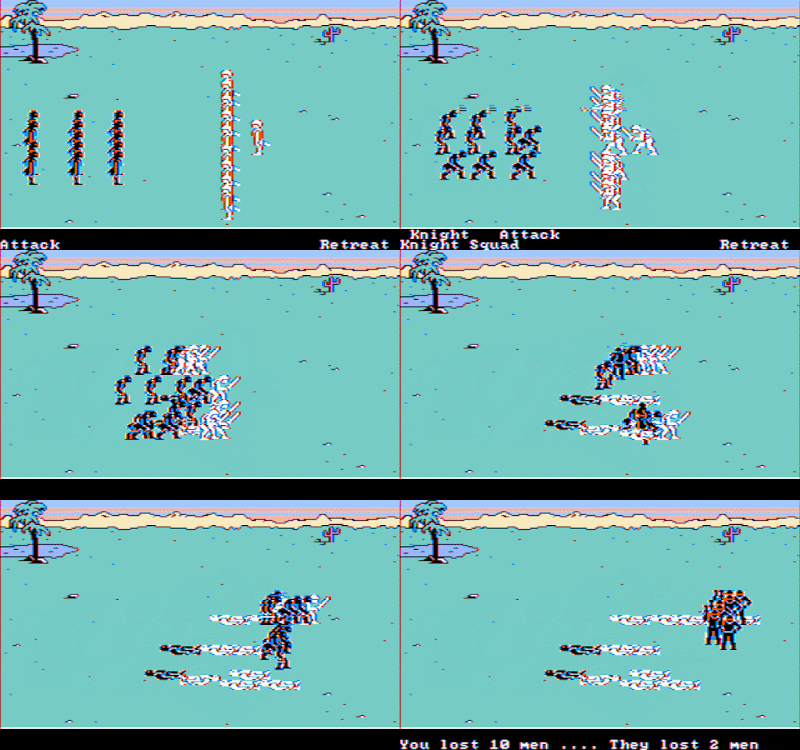
My knights advance toward the next wave of barbarians for another easy rout.
 |
| Damnit guys... |
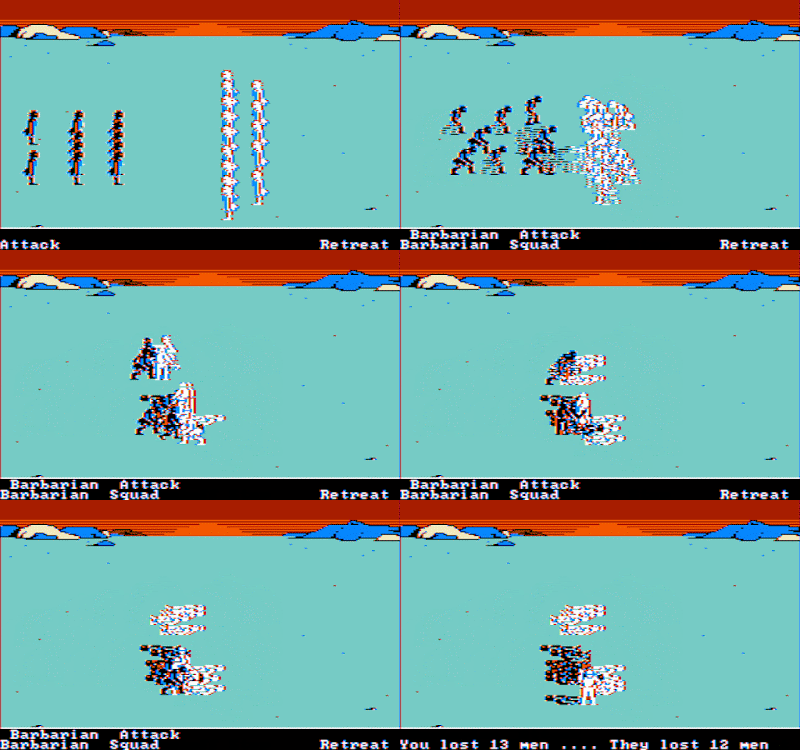
Then, barbarians fight barbarians and mostly cancel each other out in a very confusing blizzard of pixelated clubs and feet.
 |
| I'm okay with this. |
Afterward, securing Elba is straightforward. You do have to be careful about attacking stacked units - sometimes that barbarian unit you think your knights are well-positioned to fight turns out to be a barbarian and an archer unit in a trenchcoat and you wind up fighting the archers first, but this time that did not happen.
My archer detachment chases down and kills the knights, taking back the farm, and my other barbarian unit greatly outperforms expectations and singlehandedly destroys both archer units, who have foolishly decided to ford the river instead of just using the bridge.
Elba and its unit-producing forts are mine.
I don't have a lot on it, though - just an exhausted barbarian unit at third strength and some archers. Nevertheless, things look good - Napoleon no longer has a numbers advantage, mine will grow as the forts train more soldiers, and reinforcements from Corsica are finally past the mountains and on their way.
Turns out, I don't need any stinkin' reinforcements.
The last farm on St. Helena is well guarded, but the last flag isn't. The unit stationed there is strong, but does not move. I like to think it's Bon himself taking one of his famous combat naps.
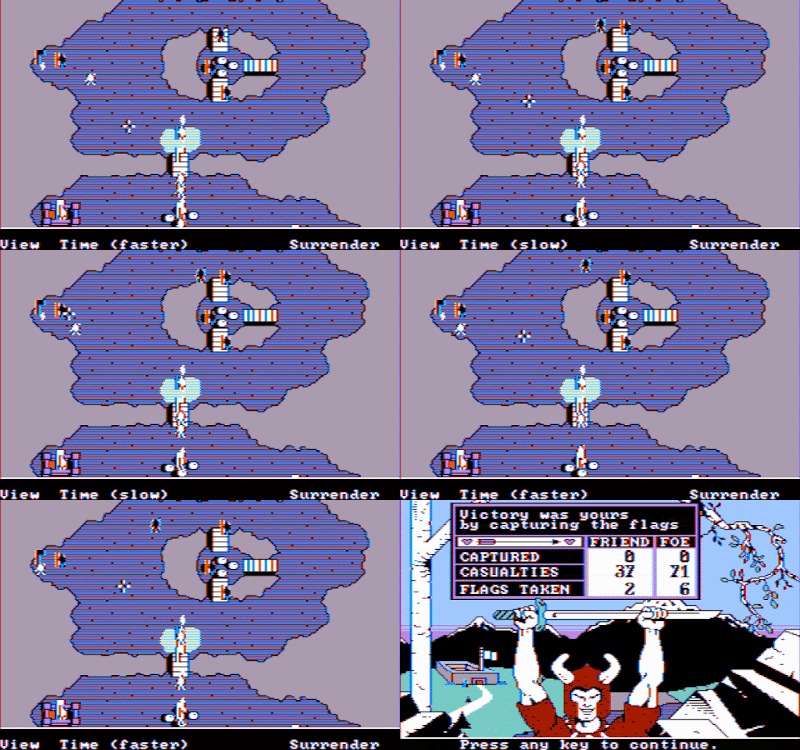
My barbarians, though tired, slow, and barely combat effective, sneak around him easily, and achieve Sun Tzu's preferred manner of victory - winning without fighting.
According to the manual, this was the game's last medium-difficulty mission. Three more to go, all long and challenging.



I remember being fond of this map, but I don't remember how I approached it at all.
ReplyDeleteThank you for leaving me all the jokes about Napoleon's fondness for bridges for when I inevitably cover this game.