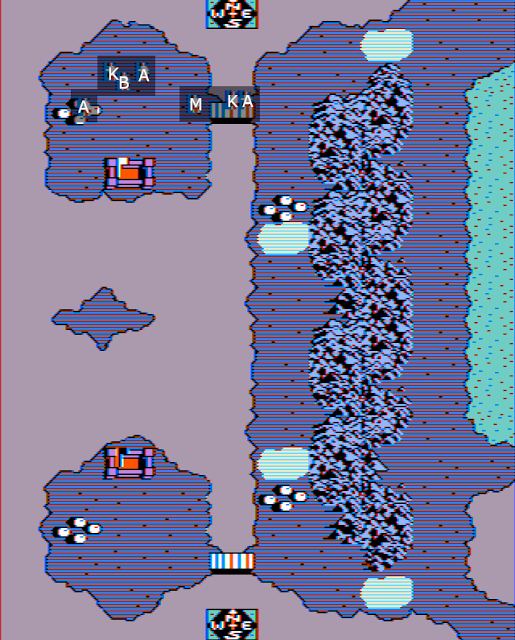
The Rivalry, offers up a symmetrical map of two fortified islands separated by two parallel passages. Seems simple, but there's one problem - your Rival, Julius Caesar, has more than twice as many men as you.
There's not a lot of room for sneaky flag-stealing tricks here. Map rules conceal your enemies until they are very close, and make it prohibitively slow - and dangerous - to cross challenging terrain.
You've got every unit type at your disposal, and so does Caesar, and so it is vitally important that combat conditions, which will occur mostly in the middle passage, are favorable to you. Micromanaging units to ensure advantageous match-ups doesn't guarantee a win; Caesar's over-performing archers can destroy your barbarians if they're somewhat tired or even unlucky, and just one lucky knight who makes it through a hail of your own arrows can inflict harrowing losses to you on the other side. He can afford a few such losses, but you can't.
Retreats, whether used to avoid losses or to hit-and-run, are terribly risky here too, as not only can this very quickly make your archers combat ineffective from fatigue, but there's a good chance of them becoming lost in the mountains, or worse, the sea.
My winning strategy - take the northern farm and hill, and be aggressive, but not reckless. In retrospect, reckless might have worked even better.
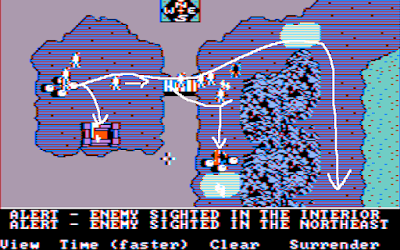
In the front, we have archers, knights, and a mixed unit of knights, barbarians, and a spy. Everyone moves toward the hill, but I have the knights and barbarians separate and merge the detached knights with the ones ahead to make one big, slow-moving wall of armor.
In back, on the village, we have more archers, who I also move across the bridge and south toward the hill.
In the middle are more knights, more archers, and another barbarian unit with a spy, but these units are low on supplies, so I have them move toward the village before sending them on their respective journeys. The knights and archers head toward the hill, but the barbarians are sent the long way on the east passage for reconnaissance and perhaps a sneak attack. One barbarian is detached from this group and sent to the fortress to train more troops.
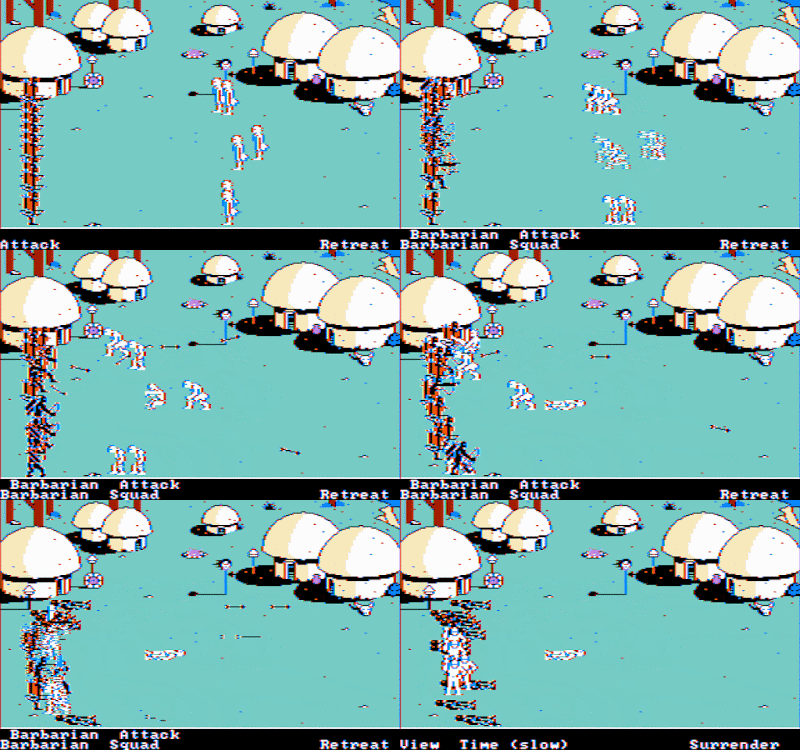
A lone barbarian engages my front line and falls easily, and a knight squad guarding the village leaves his post. My front row of archers are fortunate; they kill the full knight unit, over twice their size, without a single loss. An archer company follows, and my barbarians rout them and take the village.
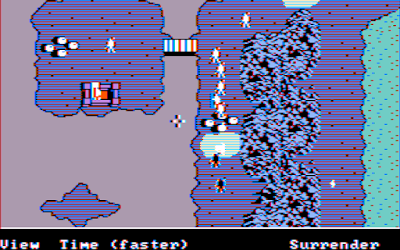 |
| My archers alone can hold the village from the incoming forces. |
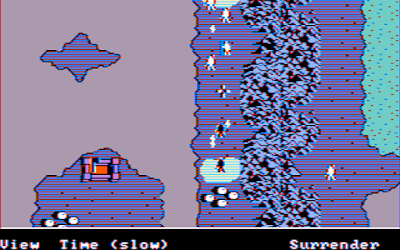
With the village and hill secured, I can either wait it out and defend this point against Caesar's forces who must march a long distance and meet my forces tired, hungry, and forced to fight uphill, or I can press the offensive. I press the offensive, main forces down the middle, while my barbarian detachment continues down the east passage.
My archers continue to hit above their weight, but begin taking some losses in exchange.
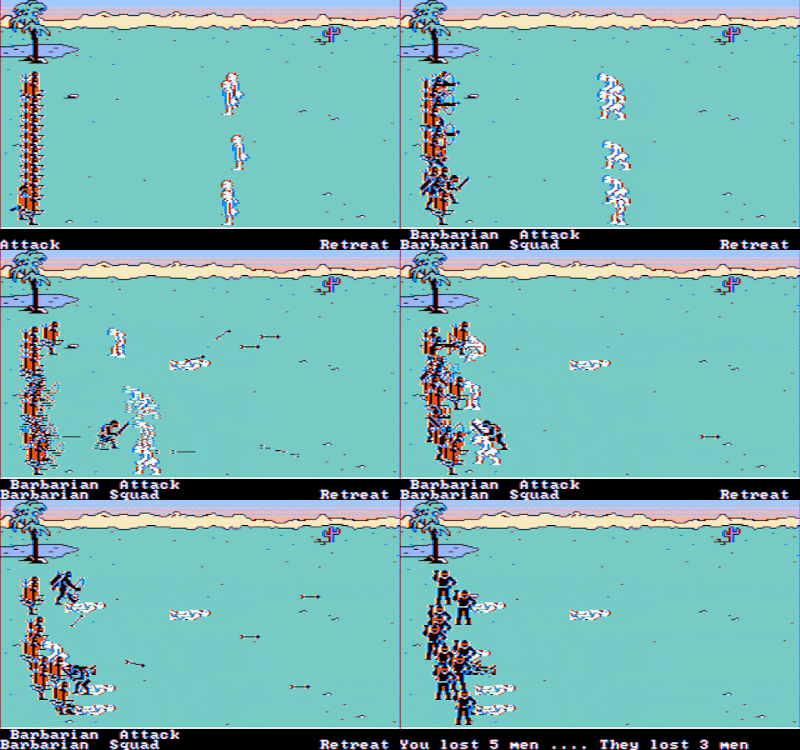 |
| Team Barbarian #1 eats it |
 |
| Team Barbarian #2 goes for the flag |
 |
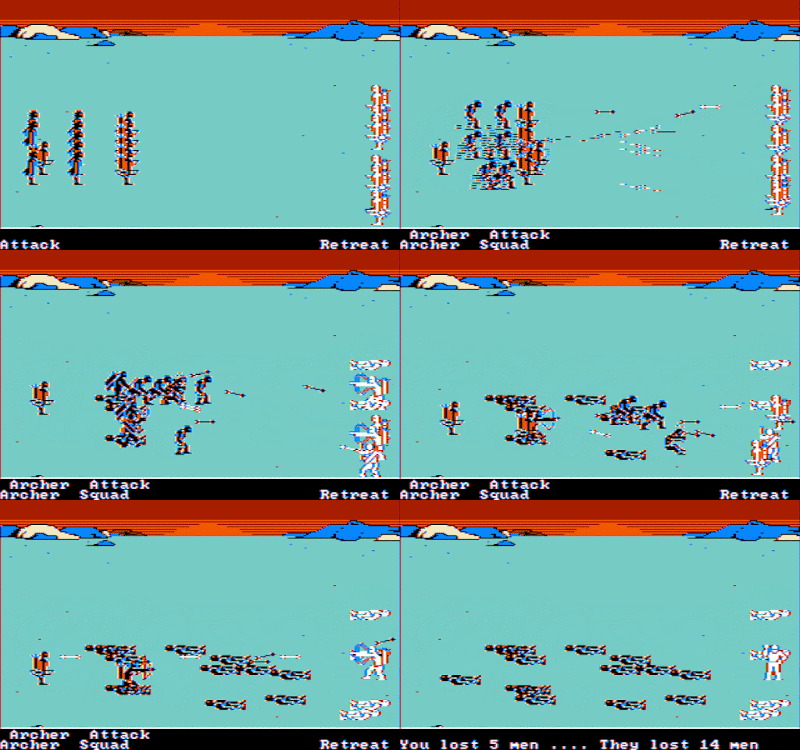
| My last archers pull off one more miracle |
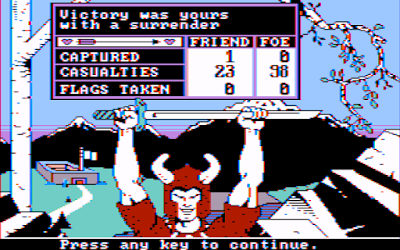
And with that, my forces outnumbered Caesars', who immediately surrendered.
I suspect this one needs a bit of early luck in order to win. Caesar's early archer unit can decimate your troops and you absolutely cannot afford for this to happen before gaining some ground. Barbarians routing them, as mine did, is no guarantee.
But once I took the first hill without any major losses, I basically had this one. Caesar was ceding his numbers advantage with almost every battle, and even if my archers had lost that last fight, I'd still be able to starve out his fort with my incoming barbarians while knights in reserve come clanking down from the north, or even sneak them in with the ol' spy bait technique.
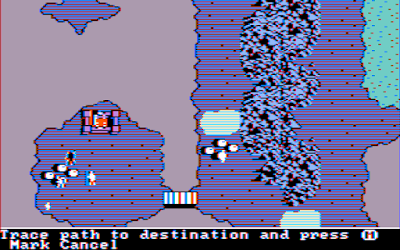 |
| The ol' spy bait technique |




I was wondering how you would approach this one. It is pretty straightforward, but it has several "solutions". I remember it being the first scenario I ever won (and then I played it repeatedly for a while)... by holding the fort in the North and let them come until they all die, or almost. Later, I used more or less your technique as far I remember.
ReplyDeleteI played this game before I understood almost any English, and this map was the only one I could beat. Like Scribe described, by hunkering down in the fort and killing all comers with archers before venturing forth to capture the flag.
ReplyDelete