

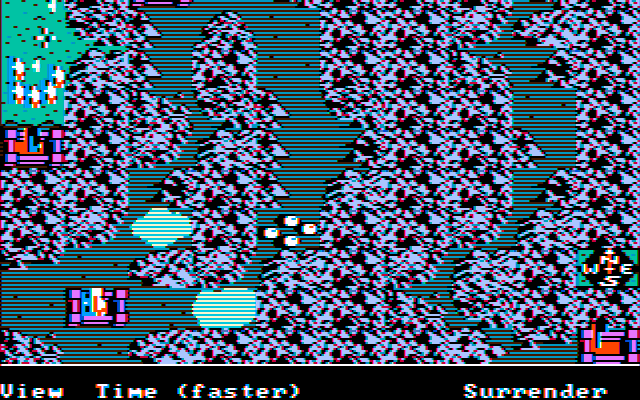
Santa Catalina, this map is a nightmare. Everywhere you go, mountains impede your progress, and your opponent Geronimo is barely slowed down by them. The paths through them are winding, long, and narrow, so narrow that it's difficult to judge whether a unit passing through is considered by the engine's edge-detection algorithm to be "in" the mountains or not, which brings your already low mobility to a near halt and puts you at a fighting disadvantage on top of draining stamina even faster. No matter what, movement is going to be horrifically slow. And meanwhile, Geronimo's units simply go as they please, directly, and being no worse for the wear. Without spies, you can't see them until they're very close, and your spies, hopelessly lost in the mountains and surrounded by hostile braves, aren't long for this world.
The goal is to capture all of the forts, which in this map are self-sufficient. No starving the enemy out - only brute force works, and the map is designed to ensure that mobilizing the sort of power that you need takes forever. Before you can worry about that, though, you've got some immediate problems to deal with.
From the start, Geronimo controls five of the seven unit-producing forts, and captures a sixth - the one in the southeast corner - almost immediately. You must grab the closest fort - for expediency's sake I will refer to it as Fort Bowie - right away, or you lose. And even if you act without hesitation, you might still lose.

Looks like you can just walk in and take it, right? But your archer unit is embedded a few pixels into the
mountains and will take a good two minutes to move away from it on a
fast march. That's nearly enough time for the enemy unit nearby to head
off northwest, burn your spy at the stake, and then go northeast and
take the other fort. If he skips the first step, you lose.
I do this, and meanwhile, move my nearby knights north, and my barbarians in the west toward two of the forts there. Geronimo quickly captures the spies and the forts in the two east corners.

Geronimo then sets his sights on Fort Bowie, and attacks with the two archer units in the region.

It holds, but barely. The onslaught will continue from the south, and I have little to defend with except for two knight units, which are of little use against archers, and no use at all for fort defense except as arrow fodder.
How can I survive? By abusing trash stacks. I split up the knights into as many smaller units as the engine allows, and engage Geronimo's braves outside the fort, wearing him down with trash mob after trash mob, while each subsequent one of my own fights at full efficiency. While this goes on, I have a lone archer sneak around back to take the northeast fort.

This goes pretty badly at first.

But each sortie wears them out a little more, until they're so tired that their archers' shots bounce off my armor and their barbarians fall down if I breathe on them.

This costs me my entire guard of knights, but they served their purpose. Geronimo's raiders are so utterly depleted by the time they reach Fort Bowie that a lone archer on the battlements can handle what's left of them.

The difficult part is over. The tedious part, taking the rest of the forts, begins, and I will spare you the exhaustive detail on what transpires between here and the end.

Geronimo continues to periodically attack my forts in the northeast, but without anywhere near the sort of ferocity as before. There is plenty of time between attacks for my forts there to train new archers, and the long march Geronimo's men must take to reach them is tiring even for them. And all the meanwhile, my forts in the west are also training men.
I decide to concentrate on the western fort in the forest. In retrospect, taking the northwest fort first may have been wiser, but I was at least correct not to focus on the southeast one - getting there would have meant sending troops on a very long path through unavoidable mountain terrain, where they would have met Geronimo's own and had to fight at both a stamina disadvantage and a terrain disadvantage.
For the next 30+ minutes, I micromanage the forts to optimize the training, and march full units as they're available up through the pass and into the forest, positioning them close to the fort there. Forest is nearly as slow as the mountains, but at least it's safer - units deep in the mountains have a tendency to vanish.
Geronimo continues to attack, often making dumb moves like sending a full unit without any archers to attack my fort's exterior.

Eventually, I have five full, well-rested units stationed outside Geronimo's western fort, and over a hundred more men at the various forts.
I send them all in. Two are held up at the walls, and are essentially lost, but the other three make it into the courtyard.

Even though I failed, Geronimo sees the writing on the wall and surrenders, accepting a fate worse than death - exile to Florida.


Yes, this map is not my favourite indeed. Hopefully you like the next one.
ReplyDeleteI was frustrated for you in the first GIF with your lazy archer not shooting at the last enemy.